tmux 是一款优秀的终端复用软件,它比 Screen 更加强大。tmux 之所以受人们喜爱,主要得益于以下功能:
智能分屏(split) :虽然 iTerm2 也提供了横向和竖向分屏功能,但 iTerm2 的分屏相对独立——新开的 pane 是全新的会话,不会自动进入当前目录,也不会继承当前的 SSH 连接状态。这意味着如果你通过 SSH 连接到远程服务器,在 iTerm2 中新开 pane 时,需要重新执行 SSH 登录流程。而 tmux 的分屏功能则更加智能:在 tmux 中新开的 pane 会自动继承当前的工作目录,如果是在远程服务器上运行 tmux,所有的 pane 都在同一个 SSH 会话中,无需重复登录。这种设计让工作流程更加顺畅高效。会话保持(attach/detach) :tmux 最强大的功能之一是会话管理。即使关闭终端窗口,tmux 会话仍在后台运行,你可以随时重新连接(attach)到之前的会话,所有的窗口、pane 和正在运行的程序都保持原样。这对于 SSH 远程工作尤其重要:网络中断不会影响正在运行的任务 可以安全地断开连接,任务继续在服务器后台执行 支持多地办公,在任何地方都能接续之前的工作状态 长时间运行的任务(如模型训练、数据处理)可以放心执行,无需担心连接中断 这些特性使 tmux 成为开发者和系统管理员的必备工具。
1. 安装 1.1 tmux 安装 1 2 brew install tmux apt-get install tmux
1.2 oh my tmux 安装 推荐使用这个,默认的配置很好用。https://github.com/gpakosz/.tmux
1 2 3 4 cd git clone https://github.com/gpakosz/.tmux.git ln -s -f .tmux/.tmux.confcp .tmux/.tmux.conf.local .
以后配置修改 ~/.tmux.conf.local 即可.
2. tmux 使用 tmux使用C/S模型构建,主要包括以下单元模块:
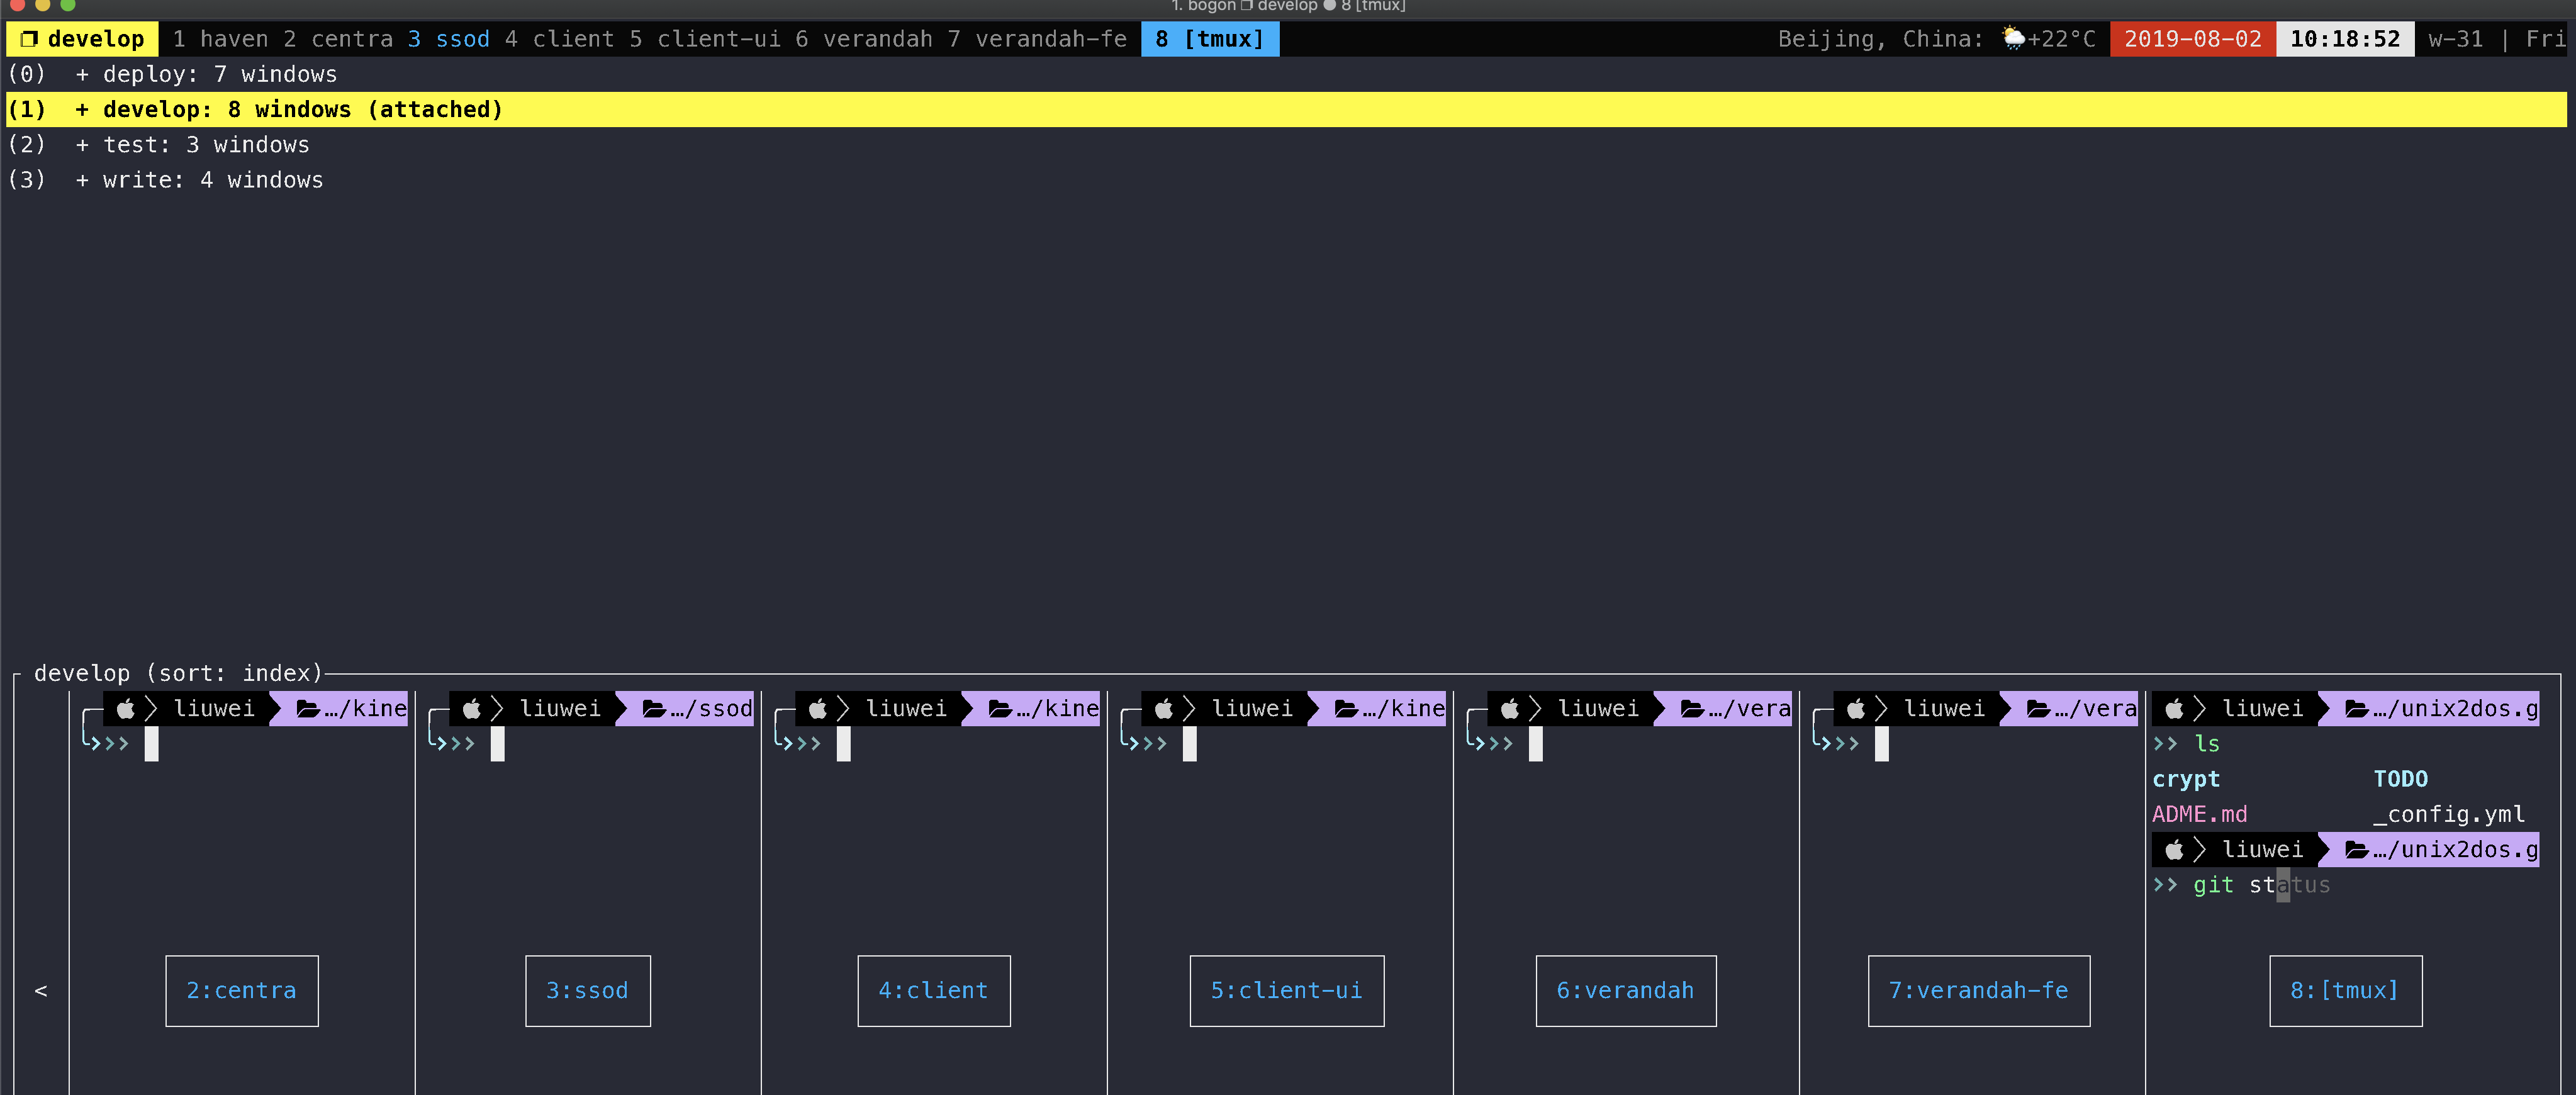
server服务器。输入tmux命令时就开启了一个服务器。 session会话。一个服务器可以包含多个会话 window窗口。一个会话可以包含多个窗口。 pane面板。一个窗口可以包含多个面板。 我习惯一个项目用一个 session, 一个工作区用一个 window, 快捷操作开始一个 panel。
如果刚开始记不住 tmux的操作, 一定多练习, 一定多用, 你会发现离不开它了。
2.1 tmux 命令 1 2 3 4 5 6 7 8 9 10 11 12 13 14 tmux ls tmux info tmux kill-server tmux tmux detach tmux attach
2.2 常见操作 1 2 3 4 5 6 7 8 9 10 11 12 13 14 15 16 17 18 19 20 21 22 23 24 25 26 + 新建 <prefix> C-c + 删除 :kill-session 或 tmux ls 以后 tmux kill-session -t 名字 + 选择 s + 重命名 $ + 退出 d + 新建 c + 关闭 ctrl+d 或 & + 列表 w 可切到其他 session + 重命名 , + 跳跃 0-9 + 向左 C-h 或 n + 向右 C-l 或 p + 新建上下 - 或 " + 新建左右 _ 或 % + 关闭 ctrl+d 或 x + 切换: 空格键 + 移动 hjkl 键 或 上下左右键 + 最大化 z + 变新窗口 ! + 只是临时变 window, 用+
2.3 Oh My Tmux 1 2 3 4 5 6 7 8 9 10 11 12 13 <prefix> m <prefix> e <prefix> r <prefix> C-c <prefix> - 和 <prefix> _ <prefix> +
3. 配置 1 2 3 4 5 tmux source-file ~/.tmux.conf set-option -g prefix2 ` set -g mouse on
3.1 tpm 插件管理 1 git clone https://github.com/tmux-plugins/tpm ~/.tmux/plugins/tpm
配置参考:
1 2 3 4 set -g @tpm_plugins ' \ tmux-plugins/tpm \ ' run '~/.tmux/plugins/tpm/tpm'
安装:
1 2 Installing plugins 1. Add new plugin to ~/.tmux.conf with set -g @plugin '...'
Press prefix + I (capital i, as in Install) to fetch the plugin.You’re good to go! The plugin was cloned to ~/.tmux/plugins/ dir and sourced.
tmux-resurrect 保存session
1 2 <prefix> ctrl + s <prefix> ctrl + r
3.2 我的配置 1 2 3 4 5 6 7 8 9 10 11 12 13 14 15 16 17 18 19 20 21 22 23 24 25 26 27 28 29 30 31 32 33 34 35 36 37 38 39 40 41 42 43 44 45 46 47 48 49 50 51 52 53 54 55 56 57 58 59 60 61 62 63 64 65 66 67 68 69 70 71 72 73 74 75 76 77 78 79 80 tmux_conf_new_session_prompt=true tmux_conf_new_window_retain_current_path=true tmux_conf_theme_highlight_focused_pane=true tmux_conf_theme_terminal_title='(#I/#{session_windows} ~ #P/#{window_panes}) #(curl -s "wttr.in/Beijing?format=3" || echo "N/A") #{?#{hostname_full_ssh},❐ ssh,} #T' tmux_conf_theme_window_status_current_format="#{circled_window_index} #{?#{m:ssh*,#{pane_current_command}},#(echo '#{pane_title}' | sed 's/^[^@]*@\\([^:]*\\).*/@\\1/'),#W}" tmux_conf_theme_window_status_format="#I #{?#{m:ssh*,#{pane_current_command}},#(echo '#{pane_title}' | sed 's/^[^@]*@\\([^:]*\\).*/@\\1/'),#W}" tmux_conf_theme_status_left=" ❐ #S" tmux_conf_theme_status_right='#{prefix}#{mouse}#{pairing}#{synchronized}| #(ipconfig getifaddr en0)| 🌻W#(date +%V) |#{tmux_mode_indicator} #{nowplaying}' tmux_conf_theme_mouse="🐭" tmux_conf_theme_synchronized="🎡" tmux_conf_theme_prefix="🔥🔥🔥🔥🔥🔥" tmux_conf_copy_to_os_clipboard=true set -g history-limit 20000set -g status-keys viset -g mode-keys viunbind C-a unbind C-b set -g prefix C-abind C-a send-prefixset -g status-position topbind Tab switch-client -l bind-key -n C-S-Left swap-window -t -1\; select-window -t -1 bind-key -n C-S-Right swap-window -t +1\; select-window -t +1 bind-key Y setw synchronize-panes bind-key / copy-mode \; command-prompt -p "(search down)" "send-keys -X search-forward '%%'" unbind F unbind f unbind w unbind C-f unbind-key -T copy-mode f unbind-key -T copy-mode-vi f unbind-key -T prefix M-u unbind j tmux_conf_uninstall_plugins_on_reload=false set -g @plugin 'tmux-plugins/tmux-cpu' set -g @plugin 'MunifTanjim/tmux-mode-indicator' set -g @plugin 'tmux-plugins/tmux-resurrect' set -g @plugin 'tmux-plugins/tmux-continuum' set -g @plugin 'Morantron/tmux-fingers' set -g @plugin 'kristijan/tmux-fzf-pane-switch' set -g @plugin 'barlevalon/tmux-nowplaying' set -g @continuum-restore 'on' set -g @fingers-pattern-5 '\b[a-zA-Z0-9_]{6,}\b' set -g @fingers-hint-style 'fg=green,bold' set -g @fingers-key f set -g @fingers-jump-key j bind-key -n M-f run -b "#{@fingers-cli} start #{pane_id}" bind-key -n M-j run -b "#{@fingers-cli} start #{pane_id} --mode jump" set -g @fzf_pane_switch_bind-key "w" set -g @fzf_pane_switch_list-panes-format "s/%//:pane_id session_name window_name" set -g @nowplaying_paused_icon "⏸m " set -g @nowplaying_stopped_icon "⏹r " set -g @nowplaying_scrolling_enabled "yes" set-option -g pane-active-border-style "fg=black,bg=green" set-option -g pane-border-style "fg=gray,bg=default" set-option -g pane-border-lines double set-option -g pane-border-format "#{?pane_active,#[bold fg=yellow],#[fg=gray]}▸ #P: #{=/-20/…:pane_current_command}#{?pane_synchronized, 🔒,}#{?#{==:#{pane_current_command},ssh}, (#{pane_title}),}" set -g @update_pane_status "if-shell '[ #{window_panes} -gt 1 ]' \ 'set-window-option pane-border-status bottom' \ 'set-window-option pane-border-status off'" set-hook -g window-layout-changed 'run-shell "tmux #{@update_pane_status}"' set-hook -g window-pane-changed 'run-shell "tmux #{@update_pane_status}"' set-option -g pane-border-status off
3.3 iterm2 遇到的问题 1 2 3 4 5 6 7 8 9 10 11 12 13 14 15 16 17 18 19 20 In iTerm2 all you need to do is to go to Preferences > Profile > Terminal and check ‘Save lines to scrollback when an app status bar is present’. 快速关闭, prefix+m https://stackoverflow.com/a/56715244/7062454 自己强答一题: 先退出 tmux seesion, 用鼠标点击通过默认 app 打开, 再进入 tmux session 就可以了 重置iterm2 删除app后, 清理一下配置 rm ~/Library/Application\ Support/iTerm2rm ~/Library/Preferences/com.googlecode.iterm2.*重置 oh my tmux, 出问题, 大概率.tmux.conf.local
4. tmux 技巧 4.1 嵌套 tmux 我应该先启动 tmux 再 SSH,还是先 SSH 再启动 tmux?
其实在远程机器上运行 tmux 尤其有用,可以确保长时间运行的任务不会因连接丢失或本地计算机睡眠而被终止。
也可以使用嵌套的 tmux:先创建本地 tmux,然后 ssh 登录,再创建一个新的 tmux 会话。
4.2 分屏技巧 prefix + - 水平分屏prefix + shift + - 垂直分屏prefix + z:暂时将当前窗格全屏/恢复,非常实用!prefix + space:快速切换横竖屏,多个窗口可以切换很多模式。prefix + { }: 将当前窗格与上一个窗格交换位置交换位置。oh-my-tmux 做了很好的优化,你可以按住 <prefix> 不松开,然后直接用方向键来调整窗格大小。prefix + q:每个窗格上都会浮现一个巨大的数字。<prefix> + + 让当前 panel 成为 window, 注意再一次还能回到 panel4.3 tmux 复制模式 强烈建议使用:set -g @plugin ‘Morantron/tmux-fingers’ # 跳转复制增强
1 2 3 vi ~/.tmux.conf.local set -g mode-keys vi
例如我的控制键为:C-a
1、 C-a [ 进入复制模式
2、 参考上表移动鼠标到要复制的区域,移动鼠标时可用vim的搜索功能”/“,”?”
3、 空格键开始选择复制区域
4、 选择完成后安enter键退出
5、 C-a ] 粘贴
如果用iterm2, 建议直接使用它的复制模式, 但用vi的搜索等操作还是很实用的
4.4 插件管理 tpm 可以关闭 clean_plugins.sh
4.5 Tmate 分享终端 tmate 是一个基于 tmux 的终端共享工具,可以让你轻松地与他人共享你的终端会话。它通过 SSH 连接实现安全的终端共享。
1 2 3 4 5 6 7 8 9 10 11 brew install tmate tmate web session read only: https://tmate.io/t/ro-J9L46PMxLZbEKpbWEC74GScdc ssh session read only: ssh ro-J9L46PMxLZbEKpbWEC74GScdc@sfo2.tmate.io web session: https://tmate.io/t/HeepQSkVAdcsm4cGGBwrtZraw ssh session: ssh HeepQSkVAdcsm4cGGBwrtZraw@sfo2.tmate.io
5. 提问问题 5.1 Tmux 是如何保证 ssh 不断的? tmux 本身不能保证 SSH 连接不断,但它可以在 SSH 断开后保持会话继续运行。
6. Tmux 进阶小技巧 6.1 Tmux Mark Tmux 可以给某个 pane 打标记,之后用 {marked} 引用它。默认快捷键:
标记后 pane 边框会变成虚线。常见操作:
1 2 3 swap-pane -t {marked} join-pane -t {marked} move-pane -t {marked}
可以把它理解成 pane 的剪切板:先标记一个 pane,再到目标位置执行交换、合并或移动。跨窗口、跨 session 整理 pane 时特别有用。
6.2 鼠标模式下点击文件 开启 set -g mouse on 后,tmux 会拦截鼠标事件。此时在终端里用 Cmd + Click 打开链接或文件可能失效。
在 macOS 终端里通常要使用:
Shift 的作用是让终端绕过 tmux 的鼠标捕获,直接处理点击事件。
7. 参考资料