Git 高级操作指南:从历史管理到提效技巧
1. 撤销更改:Revert 与 Reset
1.1 使用 Revert 撤销
git revert 通过新增一个 Commit 的方式来抵消指定提交的修改。这是一种安全的操作,因为它不会改写已有的提交历史,非常适合在多人协作的分支上使用。
1 | # 撤销指定的 commit-id |
以下是一个典型的 revert 流程示例:
1 | * d38ece4 - add 1 (25 minutes ago) <liuwei> |
1.2 使用 Reset 强制回滚
如果追求提交历史的绝对整洁,可以使用 git reset --hard 配合 push -f。
注意:此操作会丢弃修改并改写远端历史,仅建议在确认没有他人基于当前分支开发时使用。
1.3 图解:Revert Vs Reset
%%{init: {
  'theme': 'base',
  'themeVariables': {
    'git0': '#4F46E5',
    'git1': '#EF4444',
    'git2': '#10B981',
    'gitBranchLabel0': '#ffffff',
    'gitBranchLabel1': '#ffffff',
    'gitBranchLabel2': '#ffffff',
    'commitLabelColor': '#ffffff',
    'commitLabelFontSize': '12px'
  }
}}%%
gitGraph
    commit id: "A"
    commit id: "B"
    commit id: "C"

    branch revert-way
    checkout revert-way
    commit id: "D_Revert_C" tag: "Safe"

    checkout main
    branch reset-way
    checkout reset-way
    %% 注意:Mermaid 官方语法中 reset 并不总是能生效,通常使用从特定提交拉分支来模拟 reset 效果
    checkout main
    checkout reset-way
    commit id: "E_New_Fix" tag: "Destructive"
2. 线性历史:rebase 工作流
在合并分支时,merge 虽然更安全且保留了完整的原始信息,但会导致提交树交错复杂。rebase 则能通过重新定位基准,保持一条整齐的线性提交历史。
2.1 协作准则
执行 git rebase 前必须确认:是否有其他开发者正在此分支上工作? 如果该分支已被推送到远端且存在多人协作,请避免使用 rebase,以免造成他人本地分支冲突。
2.2 变基原理
关于 rebase 的深度分析与交互式变基技巧,可参考:Git Rebase 详解。
2.3 使用 Git Pull –rebase
当你在本地 master 分支开发并提交了 Commit,而远端已有新的更新时,直接执行 git pull 会自动生成一个类似 Merge remote-tracking branch 'origin/master' 的合并提交。
为了保持 Log 的整洁,推荐使用:
1 | git pull --rebase |
该命令会先抓取远端修改,然后将你本地尚未推送的 Commit 重新应用(Replay)在远端最新的提交之上,从而避免不必要的 Merge Commit。
%%{init: {
  'theme': 'base',
  'themeVariables': {
    'git0': '#4F46E5',
    'git1': '#8B5CF6',
    'gitBranchLabel0': '#4F46E5',
    'gitBranchLabel1': '#8B5CF6'
  }
}}%%
gitGraph
    commit id: "Remote: A"
    commit id: "Remote: B"

    branch "local"
    checkout "local"
    commit id: "Local: C"
    commit id: "Local: D"

    checkout main
    commit id: "Remote: E (New)"

    checkout "local"
    merge main id: "Rebase: Apply C, D on E"
3. 实用提效命令
3.1 基础操作
3.2 代码追溯:blame
用于查看指定文件每一行代码的最后修改者及对应的 Commit。
1 | git blame <file-name> |
3.3 容错恢复:reflog
当发生误删 Commit、reset 出错或 rebase 失败导致 HEAD 丢失时,reflog 是最后的保障。它记录了本地仓库中 HEAD 指向的所有变更记录(包括已删除的提交)。
1 | git reflog |
3.4 任务暂存:stash
用于在切换分支前快速保存当前未提交的工作现场。
1 | # 查看暂存列表 |
%%{init: {
  'theme': 'base',
  'themeVariables': {
    'primaryColor': '#4F46E5',
    'primaryTextColor': '#fff',
    'primaryBorderColor': '#3730A3',
    'lineColor': '#6366F1',
    'secondaryColor': '#10B981',
    'tertiaryColor': '#F59E0B'
  }
}}%%
flowchart BT
    subgraph "Git Stash Stack (LIFO)"
        S2["stash@{2}: Older Changes"]
        S1["stash@{1}: Previous Changes"]
        S0["stash@{0}: Latest Changes"]
        S0 --> S1 --> S2
    end

    WD["Working Directory<br/>(Modified Files)"] -- "git stash push" --> S0
    S0 -- "git stash pop" --> WD

    classDef primary fill:#4F46E5,stroke:#3730A3,color:#fff
    classDef success fill:#10B981,stroke:#059669,color:#fff
    classDef warning fill:#F59E0B,stroke:#D97706,color:#fff

    class S0 success
    class S1,S2 primary
    class WD warning
4. 特定场景案例
4.1 清理历史提交记录
若需彻底删除旧的历史并减小 .git 文件夹体积,可按以下步骤操作(操作前请务必备份):
1 | # 1. 创建孤立分支 |
完成后重新 Clone 仓库可获得最小体积的本地环境。
4.2 统计代码贡献量
通过 git log 结合 awk 统计特定开发者的代码增减行数:
1 | git log --author="liuwei" --since=2023-10-25 --until=2023-10-31 --pretty=tformat: --numstat | awk '{ add += $1; subs += $2; loc += $1 - $2 } END { printf "Added lines: %s, Removed lines: %s, Total lines: %s\n", add, subs, loc }' - |
4.3 清理分支
1 | # 清理远程删除的分支 |
5. Git 插件或优化
终端
- LazyGit (终端 Git 图形界面,太复杂了不想学)
- 强烈推荐:如果你觉得敲 Git 命令繁琐,LazyGit 是必装的。它是一个终端 UI 工具,支持鼠标和键盘操作。
- 功能:快速查看 Diff、一键 Stage/Unstage 文件、极其方便的解决合并冲突(Conflict)、交互式 Rebase。在 Ghostty 中运行非常流畅。
- 交互式插件:Forgit (基于 fzf)
- 作用:为 Git 命令加上 “ 模糊搜索 “ 能力。
ga:进入交互模式,按Enter选中要 add 的文件(带预览)。glo:交互式查看 Log,按/搜索,右侧实时显示 diff。
- gitUI (挺对胃口)
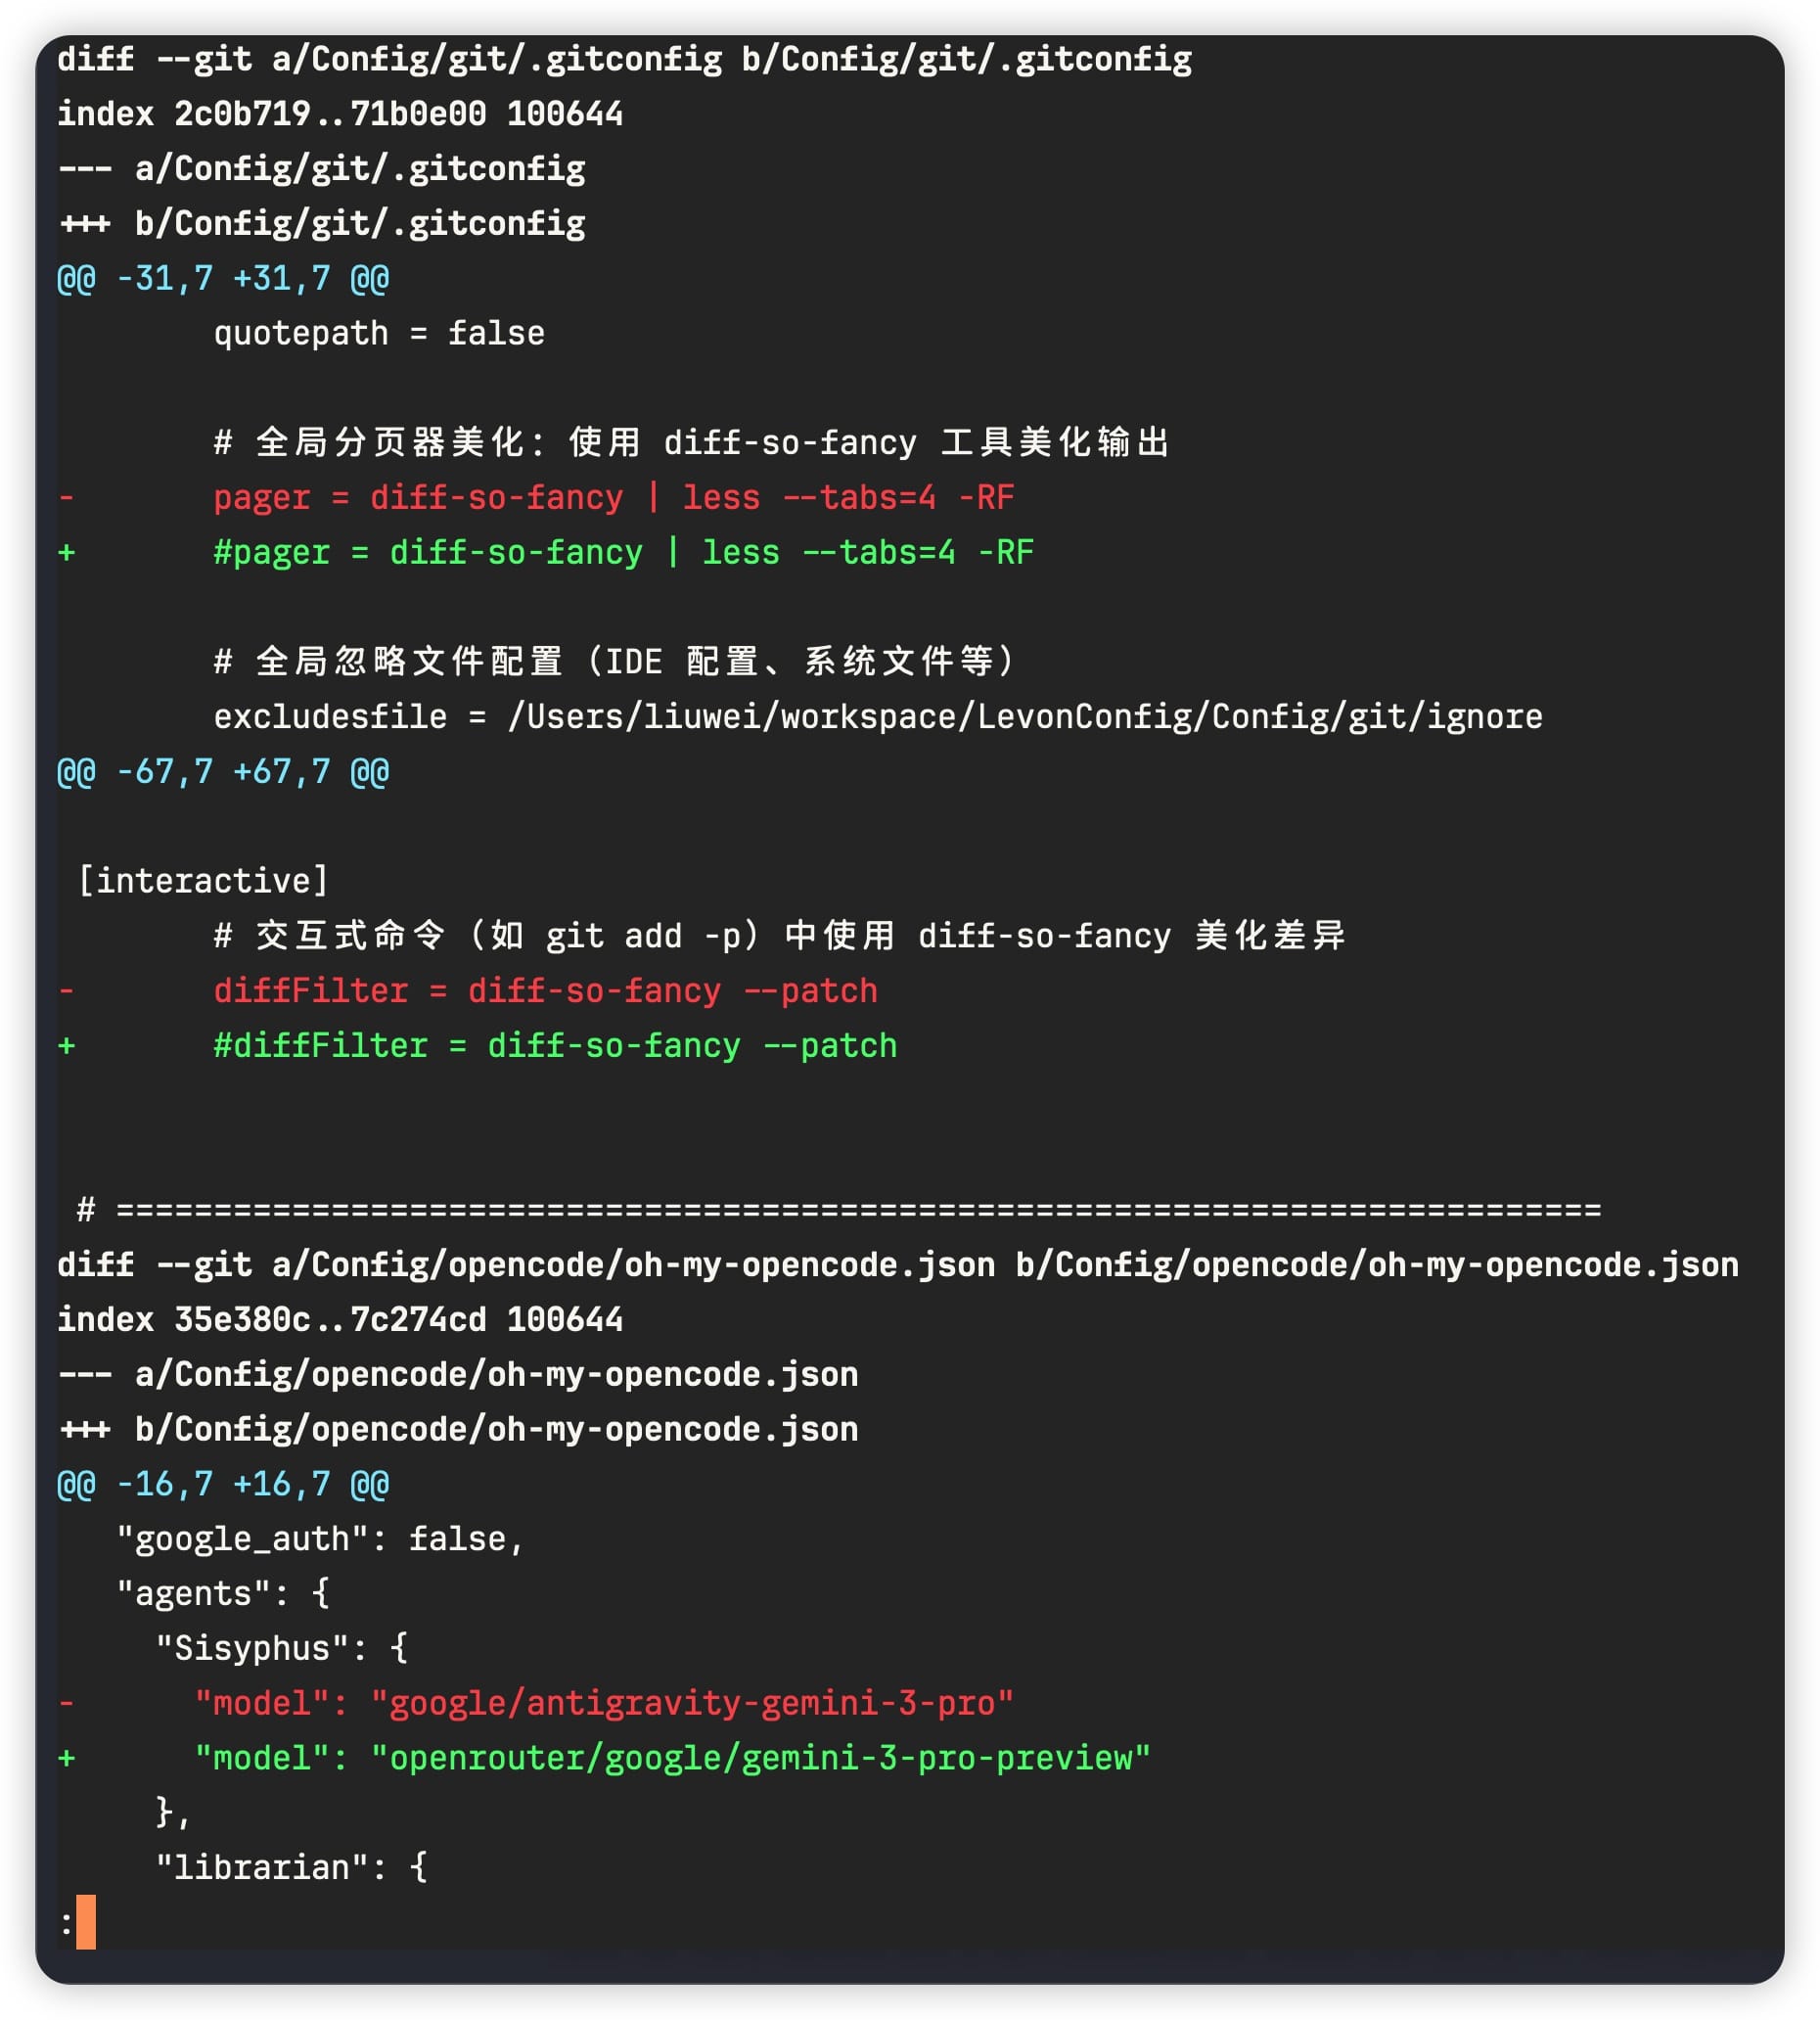
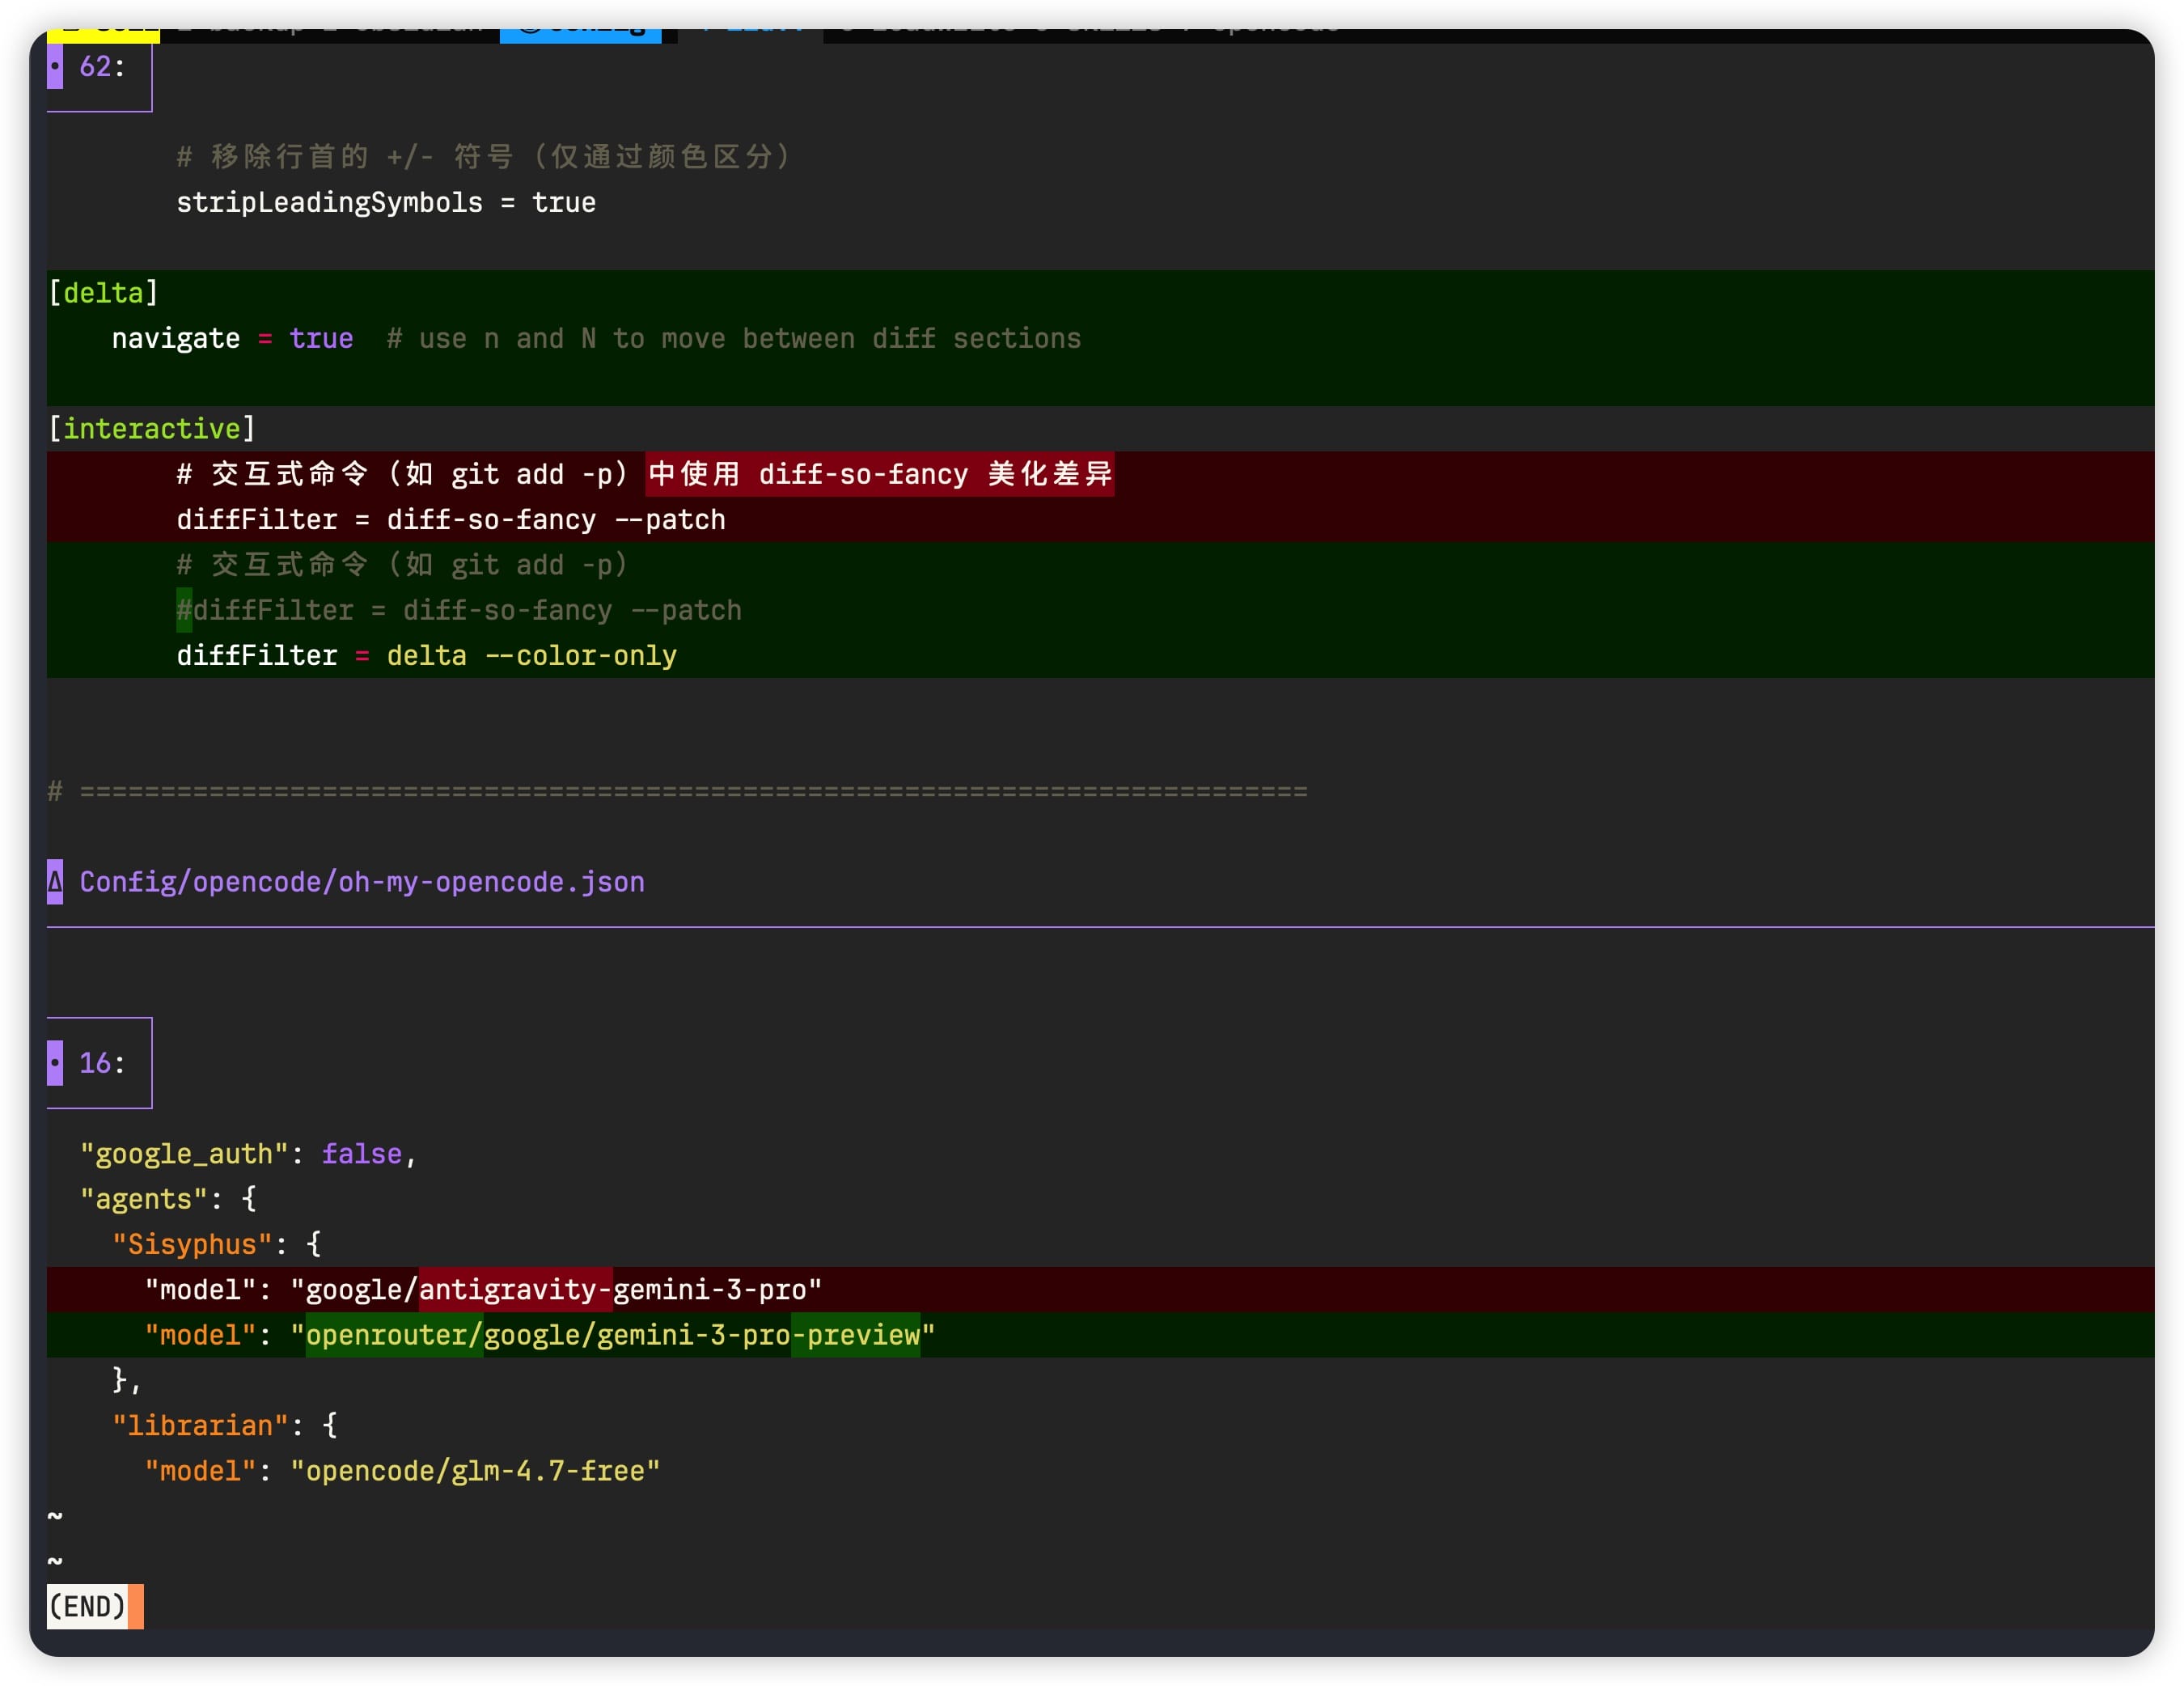
Diff 美化
- Git Delta(复杂)
- 作用:让你的
git diff、git show输出带有语法高亮、行号和并排对比模式(Side-by-side),比默认的diff更易读且美观。
- 作用:让你的
- diff-so-fancy (简约好看)
- 现在用的
- diff vs delta vs fancy

6. Revert Merge Commit
普通 commit 只有一个父提交,Git 知道要撤销哪一段 diff:
1 | git revert <commit> |
Merge commit 有两个父提交,Git 不知道你要保留哪一边,所以必须通过 -m 指定 mainline。
可以先看父提交顺序:
1 | git cat-file -p <merge-commit> |
输出里的第一行 parent 是 parent 1,第二行是 parent 2。
常见场景是 feature 分支合入 main 后要撤销这次合并。此时通常使用:
1 | git revert -m 1 <merge-commit> |
含义是:保留 parent 1,也就是合并前 main 分支的方向,撤销 feature 带来的变更。
如果误用 -m 2,就变成保留 feature 方向、撤销 main 方向,通常不是想要的结果。